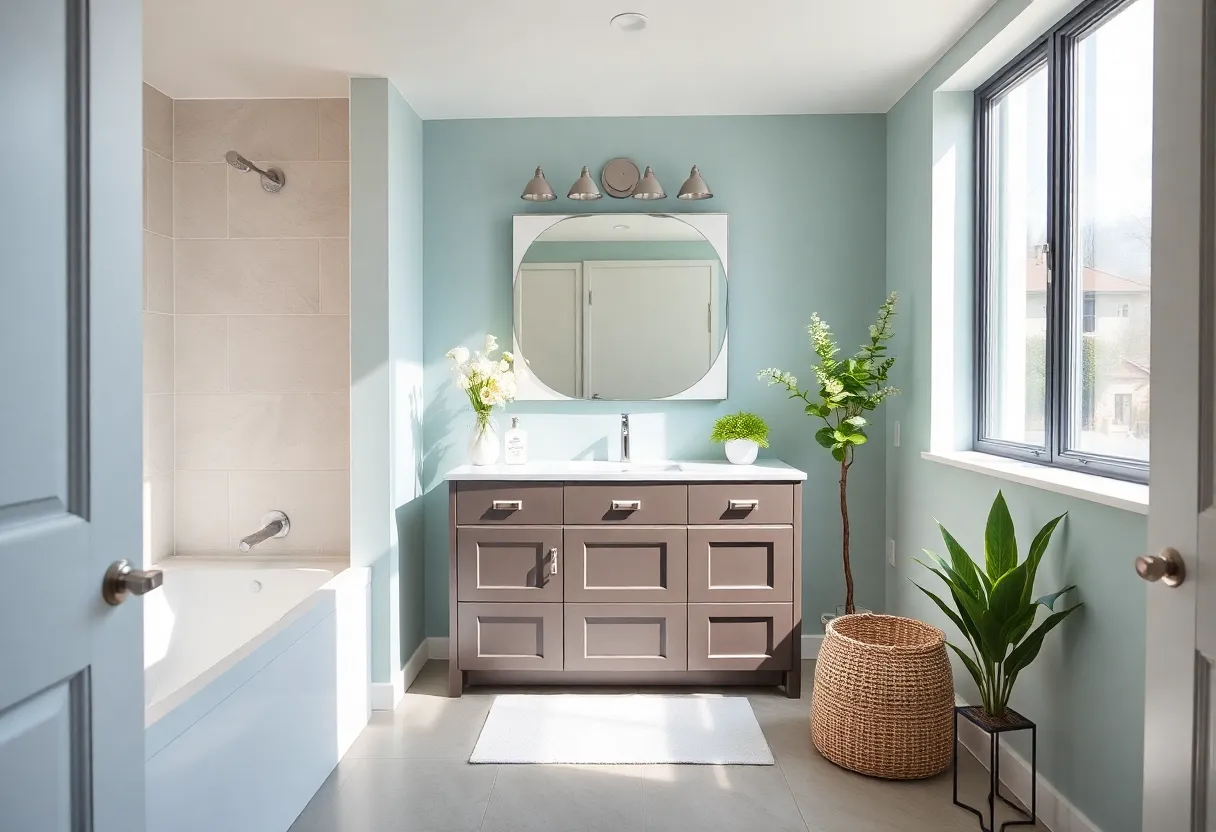
A beautifully renovated bathroom featuring a modern vanity installation.
Article Sponsored by:
At Forwal Construction, we are a full-service, licensed general contractor dedicated to delivering exceptional results for projects of all sizes. Backed by a trustworthy and skilled team, we take pride in staffing our projects with our employees and trusted trade partners to bring your vision to life. From new construction and home additions to interior and exterior renovations, our team ensures a seamless, carefully planned, and stress-free experience from start to finish.
We aim to be your one point of contact for all home improvement needs. Whether you’re dreaming of a kitchen remodel, a bathroom renovation, or a beautifully finished basement, we provide expert craftsmanship with a commitment to quality. Our belief is simple: trustworthy people find one another. If we’re not the right fit for your project, chances are we know the perfect professional to recommend.
Serving Novi, Northville, Plymouth, and Ann Arbor, MI, our mission is to help you enjoy your home to the fullest. Contact us today to explore how we can turn your ideas into reality!

Transforming your bathroom can enhance its functionality and aesthetic appeal. Central to this transformation is the bathroom vanity installation. This guide offers a structured approach for those seeking to undertake this project as a DIY endeavor. Proper planning, tools, and techniques are pivotal to ensuring a successful installation.
Before starting the installation, familiarize yourself with the various types of bathroom vanities available. Each type has unique features that may influence your choice:
Understanding the essential components of a vanity is crucial for accurate installation:
Having the right tools will smooth the installation process. Prepare the following items:
Begin by evaluating the space where the vanity will be installed. Measure the existing area meticulously. Consider heights, widths, and depth to ensure the new vanity fits appropriately. Additionally, check for plumbing lines that need to be accommodated.
Carefully disconnect plumbing connections, including the water supply and drain lines. Use a bucket to catch any residual water. Remove any screws or attachments securing the old vanity to the wall and carefully pull it away.
Before installing the new vanity, make adjustments as needed. This may involve patching drywall, painting, or modifying plumbing. Ensure the area is clean and ready for installation.
If you’re working with a freestanding unit, position the vanity in place. Use a level to ensure the vanity sits evenly. For wall-mounted units, secure it to the wall using appropriate anchors, ensuring it’s level and stable.
Once positioned, use screws to attach the vanity to the wall studs for added stability. This is especially important for heavier, wall-mounted units.
Carefully place the countertop onto the vanity base. Ensure it fits snugly, aligning it with any pre-drilled holes for sink installation. Use silicone sealant where necessary to prevent water leakage.
For vanities with integrated sinks, ensure they are properly affixed to the countertop. For drop-in sinks, follow the manufacturer’s instructions to secure the sink effectively without risking leakage.
Mount the faucet onto the sink or countertop, as per directions. Connect the water supply lines securely to avoid leaks, tightening connections with a socket wrench.
Reattach the drain and water supply lines. Use plumber’s tape to ensure connections are tight and leak-free.
Apply a bead of caulk or silicone sealant around the edges where the vanity meets the wall and the sink to prevent moisture damage. This step enhances the aesthetic appeal and prolongs the life of your installation.
Test the faucet and sink for proper drainage and functioning. Check for leaks and make necessary adjustments. Adjust the level of the vanity if required.
The final stage is maintaining your new bathroom vanity. To preserve its appearance and operational efficiency, consider the following:
The bathroom vanity installation is a rewarding DIY project that enhances functionality and elegance in your bathroom. By following this structured guide, you can achieve a successful installation while developing your skills as a DIY enthusiast. Ensure proper planning and execution for the best results, and enjoy your refreshed space for years to come.
Michigan’s Trusted Home Improvement Contractors
Proudly serving Novi, Northville, Plymouth, Ann Arbor, and the greater Metro Detroit area.
Phone: (248) 221-1902
Email: hello@forwal.com
News Summary The U.S. Department of Education has unexpectedly revoked nearly $42 million in COVID…
News Summary Novi City Council has approved a proposal for a $120 million bond aimed…
News Summary Prima Medicine has added Dr. Mandana Shafai to their team as a Concierge…
News Summary Idaho has become the eighth U.S. state to extend foster care benefits to…
News Summary The music industry is buzzing with job opportunities for digital marketing professionals. Prominent…
How Can You Use Social Listening to Inform Your Digital Marketing Strategy? Introduction In today's…